Adding a portal widget to a dashboard in ServiceNow
In my previous post we created an RSS widget for use in the Service Portal. Rather than developing another widget for the platform ui Dashboards, can’t we just use portal widget in the Dashboard? Yes we can!
I discovered the solution on the SN community here . Here is my version of the steps:
Create a portal page and add your widget to it
- Navigate to Service Portal –> Pages
- Click New to create a new page
Title:BlogRSS ID:blogrss Short description:BlogRSS - Go to the Hamburger Menu and Click save
- Under Related Links “Open in Desiger” and add a #12 container
- Find your widget and add it to the page
Create a UI Page to contain the portal page
- Navigate to System UI –> UI Pages
- Click New to create a new page.
- Name = BlogRSS
- Paste the script below into the HTML field
<?xml version="1.0" encoding="utf-8" ?>
<j:jelly trim="false" xmlns:j="jelly:core" xmlns:g="glide" xmlns:j2="null" xmlns:g2="null">
 <style>
        #preview{
            text-align: center;
        }
 </style>

     <div id="preview">
       <iframe height="500" width="850" scrolling="no" src="/$sp?id=BlogRSS" />
    </div>
</j:jelly>
Create the Widget and use the UI Page as the source for the Widget
- Navigate to System UI –> Widgets
- Click New to create a new widget and set name field to “BlogRSS”
- Paste the script below into the HTML field
function sections() {
    return {
		'BlogRSS': {'name': 'BlogRSS'}
    };
}

function render() {
    var name = renderer.getPreferences().get("name");
    return renderer.getRenderedPage(name);
}

function getEditLink() {
    return "sys_ui_page.do?sysparm_query=name=" + renderer.getPreferences().get("name");
}
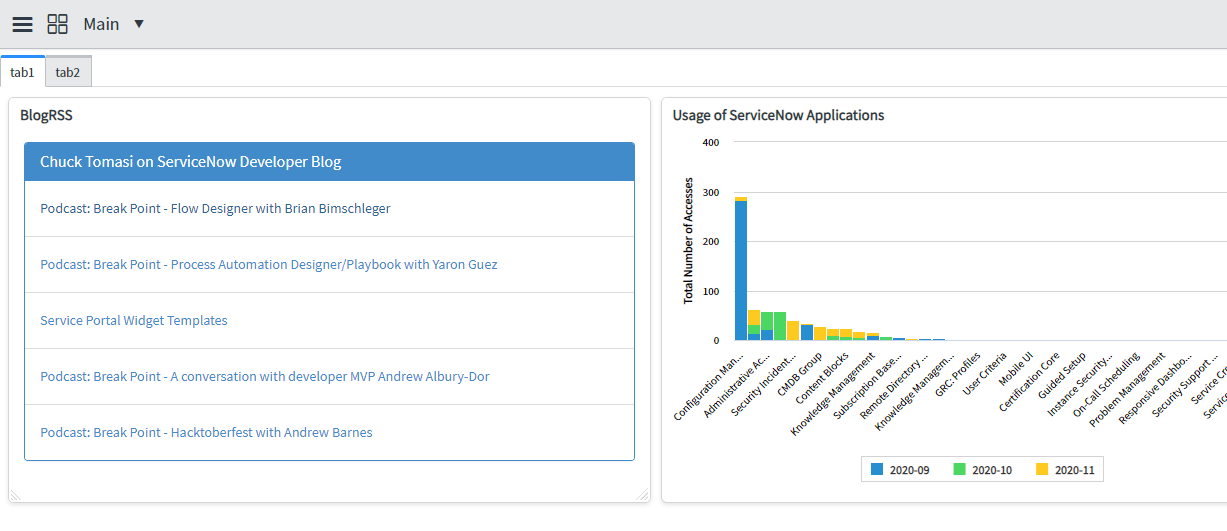
Now just find the “BlogRSS” Widget in the Widget picker for your Dashboard. Result:

Leave a comment