Kubernetes ServiceNow Discovery - The better way using CNO for Visibility
Summary
Recently I put together a walk through of Kubernetes ServiceNow Discovery using traditional Discovery Schedules. This works but is not a great method for ensuring up to date information since Kubernetes Clusters are frequently changing throughout the day. To properly inventory a Kubernetes cluster you need push or webhook like capability to provide real-time updates. Fortunately ServiceNow has released Cloud Native Operations (CNO) for Visibility which is effectively an Agent Client Collector that you load directly into the Kubernetes cluster as an app. Some key advantages of this strategy:
- Auto updates in near real time
- No MID server required
Lets set it up! First we will load up a new K3s cluster on a Linux host.
Install K3s
Open and command shell and paste this in:
sudo curl -sfL https://get.k3s.io | K3S_KUBECONFIG_MODE="644" sh -
Thats it! If you run “kubectl cluster-info” it should return some results.
Install ServiceNow Agent/CNO into the Kubernetes Cluster
Prerequisites are:
- Service account with at least the discovery_admin role
- Storing this account/password as a secret in the K3s cluster
Create a Kubernetes Secret
Create a Kubernetes Namespace for the agent aka “Informer”
kubectl create namespace servicenowinformer
Create a Kuberentes secret to hold the user account for authenticating to the ServiceNow instance and upload the data. Per the documentation, the user must have the discovery_admin role.
#set discovery_admin roled user
export user="admin"
export password="password"
export sninstance="dev1234"

#kubectl create namespace servicenowinformer
kubectl create secret generic k8s-informer-cred-$sninstance \
--from-literal=.user=$user \
--from-literal=.password=$password \
-n servicenowinformer
Install CNO for Visibility from Helm
First install Helm if you do not already have it
curl https://raw.githubusercontent.com/helm/helm/main/scripts/get-helm-3 > install-helm.sh
chmod u+x install-helm.sh
./install-helm.sh
Now install the CNO/Agent. Change the clustername to your preferred name and ensure the sninstance variable is set. For details about the repos see CNO for Visibility Helm Chart and Kubernetes YAML file releases KB1564347 article in the Now Support Knowledge Base.
#example
export KUBECONFIG=/etc/rancher/k3s/k3s.yaml
helm repo add k8s-informer https://install.service-now.com/glide/distribution/builds/package/informer/informer-helm/repo
helm install k8s-informer k8s-informer/k8s-informer-chart \
    --set acceptEula=Y \
    --set instance.name=$sninstance \
	--set clusterName="myK3sCluster001" \
	--namespace servicenowinformer
That’s it. You can check its status with
kubectl get pods -n servicenowinformer
Running an On-Demand Full Discovery
Initially it may not run a full discovery, so to push things a long:
- In ServiceNow Open CNO for Visibility ->Home click on the row associated with the cluster you want to discover. (if there isn’t one, wait a bit longer or check the logs in your container, you might have a password or instance name issue)
- Click on “Full Discovery” in the “Related Links” section.
- The “Full Discovery Status” field will change to “In Progress”. Once the discovery is done, the field value will be changed again to “Completed”.
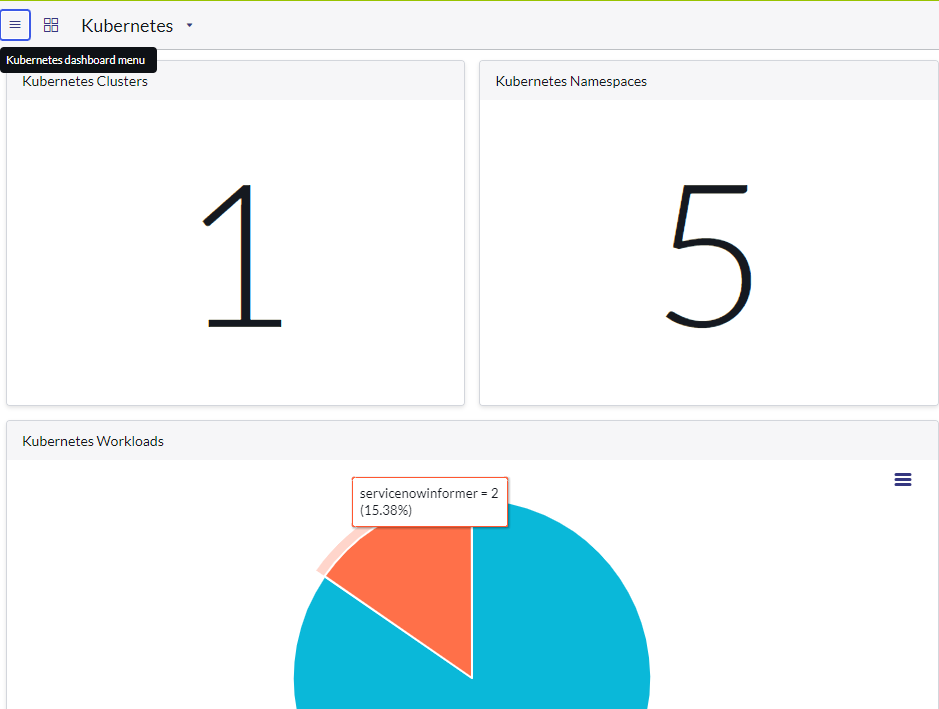
This will take a minute or 2 and you should then see all of your system Kubernetes pods in the Kubernetes Dashboard
Instant Update Demo
Now lets add new item to our cluster. You can tail the logs in seperate session with:
k8sInformerPod=`kubectl get pods -n servicenowinformer -o custom-columns=:metadata.name --no-headers=true`
kubectl -n servicenowinformer logs $k8sInformerPod --follow
Install Nginx Hello World Example
So that we have something new to discover. Copy this Kuberenetes manifest block and paste into your shell.
Obeserve the logs show it sending data to your Servicenow instance. Now wait a minute or so and browse to the host http://ipddress/web. Once this is up and running, check your Kubernetes Dashboard. You should see a new Pod and Namespace titled “nginxweb”
Delete Nginx Hello World Example
kubectl delete namespace nginxweb
Observe logs that ship back to your ServiceNow instance again. Intially it will update the related Kubernetes resources to absent and remove the relationship (not the reference) between it and the K3s Cluster. About an hour or so later it does delete the record entirely.
Cleanup
If for any reason you need to cleanup a deleted cluster


Leave a comment